Netgear PR2000 User Manual Page 116
- Page / 145
- Table of contents
- TROUBLESHOOTING
- BOOKMARKS
- NETGEAR Trek 1
- N300 Travel Router and Range 1
- Extender 1
- Compliance 2
- Trademarks 2
- Contents 3
- Chapter 5 USB Port 4
- Chapter 6 Security 4
- Chapter 7 Administration 4
- Chapter 8 Advanced Settings 5
- Chapter 9 Troubleshooting 5
- Get to know your Trek 6
- Unpack Your Trek 7
- Position Your Trek 7
- Prepare Your Trek 8
- Get to Know Your NETGEAR Trek 9
- Internet Mode Switch 9
- Figure 2. Internet via switch 9
- Indicator LEDs 10
- Figure 3. Indicator LEDs 10
- Table 1. Status LEDs 10
- Hardware Setup 11
- Power Inputs 12
- Power plug 12
- Antenna Orientation 13
- Product Label 13
- WiFi Range Extender Setup 16
- DO DON’T 17
- WiFi Bridge Setup 20
- Connect to the Trek 22
- Trek Setup Preparation 23
- Gather ISP Information 23
- Types of Logins and Access 23
- NETGEAR genie Setup 24
- ******** 25
- Upgrade the Trek Firmware 26
- Change the Password 26
- Password Recovery 27
- To recover your password: 28
- Manual Method 29
- Wi-Fi Protected Setup Method 30
- Internet Setup 34
- Basic Wireless Settings 40
- To change the WPA settings: 43
- Attached Devices 44
- Profile Settings 45
- Specify custom settings 47
- Setup Wizard 48
- To launch the Setup Wizard: 48
- WAN Setup 50
- To change the WAN settings: 50
- Default DMZ Server 51
- Change the MTU Size 53
- Table 2. Common MTU sizes 53
- To change the MTU size: 54
- LAN Setup 54
- To change the LAN settings: 55
- Use the Trek as a DHCP Server 56
- Set Up Address Reservation 58
- To reserve an IP address: 58
- Quality of Service Setup 60
- To set up QoS: 61
- Scroll down 62
- Enhance your local network 66
- Enhance Your Local Network 67
- Set Up Network Storage 68
- View or Configure a USB Drive 69
- USB Port 70
- To view network folders: 72
- To add a network folder: 73
- 6. Click the Edit button 74
- To edit a network folder: 75
- Specify Approved USB Devices 76
- Share Photos and Multimedia 78
- Set Up a Network Printer 81
- 6. Click the Connect button 83
- Security 87
- To block services: 88
- Schedule Blocking 90
- To schedule blocking: 90
- Manage your network 93
- View Trek Status 94
- Router Information Pane 94
- Internet Port Pane 95
- Statistics 96
- Connection Status 98
- Wireless Settings Pane 100
- Administration 101
- Specify Log Settings 102
- To specify log settings: 103
- Manage the Configuration File 104
- Back Up Settings 104
- Update the Trek Firmware 106
- Fine-tune your network 108
- Advanced Wireless Settings 109
- Control the Wireless Radio 109
- Set Up a Wireless Schedule 110
- View or Change WPS Settings 111
- To specify WPS settings: 111
- Advanced Settings 112
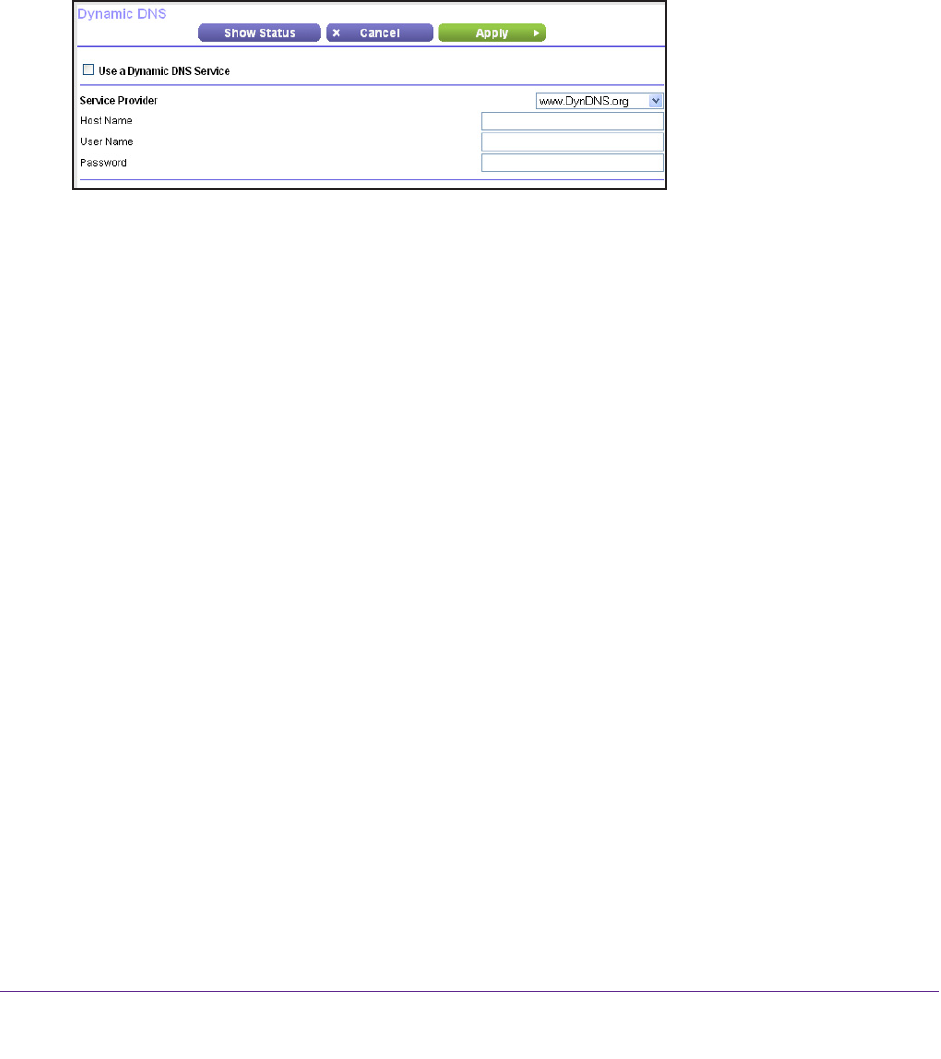
- Dynamic DNS 115
- To set up Dynamic DNS: 115
- Static Routes 116
- To set up a static route: 117
- Remote Management 119
- Universal Plug and Play 121
- Traffic Meter 122
- Scroll to view 123
- Diagnose and solve problems 126
- Quick Tips 127
- Troubleshoot with the LEDs 127
- Power LED Is Off 128
- LEDs Never Turn Off 128
- Internet Port LED is Off 128
- WiFi LED is Off 129
- Cannot Log In to the Trek 129
- Cannot Access the Internet 130
- Troubleshoot PPPoE 131
- Troubleshooting 132
- Changes Not Saved 133
- Incorrect Date or Time 133
- Wireless Connectivity 134
- View the Trek specs 138
- Factory Settings 139
- Technical Specifications 140
- Supplemental Information 141
© 2020, manymanuals.com. All rights reserved. | 1.193 s |
 Manymanuals.com
 Manymanuals.de
 Manymanuals.fr
 Manymanuals.it
 Manymanuals.pl
 Manymanuals.cz
 Manymanuals.es
 Manymanuals-pt.com
Comments to this Manuals